| |
Detailed Rotor Balancing Process
Equipment Preparation
- vibration sensors, optical speed sensor, magnetic base, software package, and included accessories.
- Connect the device to your PC using the USB interface and confirm the software installation.
Sensor Installation
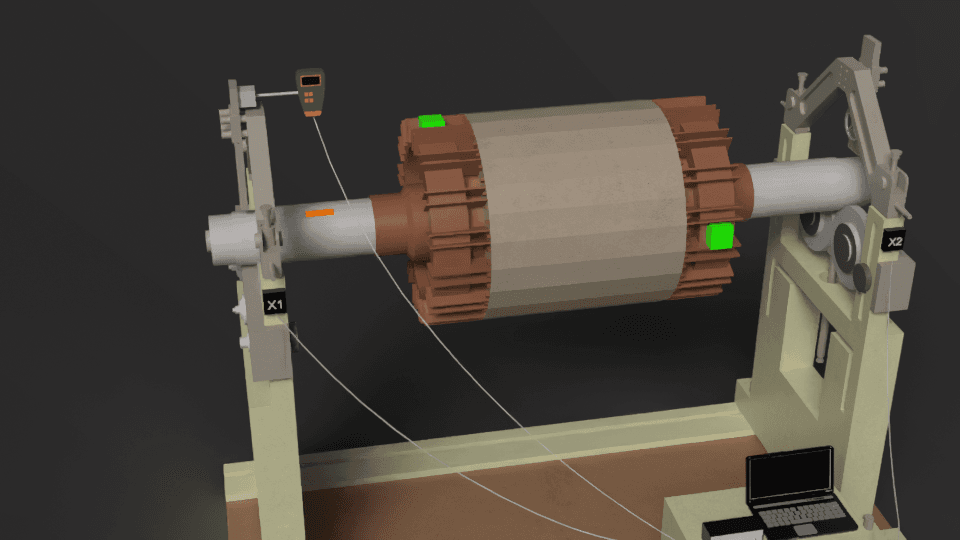
- Fix the accelerometers securely to the machine's structure in locations where vibrations are most prominent, ideally near the bearings.
- Aim the optical rpm sensor at the rotating shaft and apply a reflective strip to the shaft for phase angle data acquisition.
Software Startup
- Initiate the Balanset program on your computer.
- Choose the correct balancing method (single or two-plane) according to the rotor configuration and the balancing task.
Measuring Initial Vibration
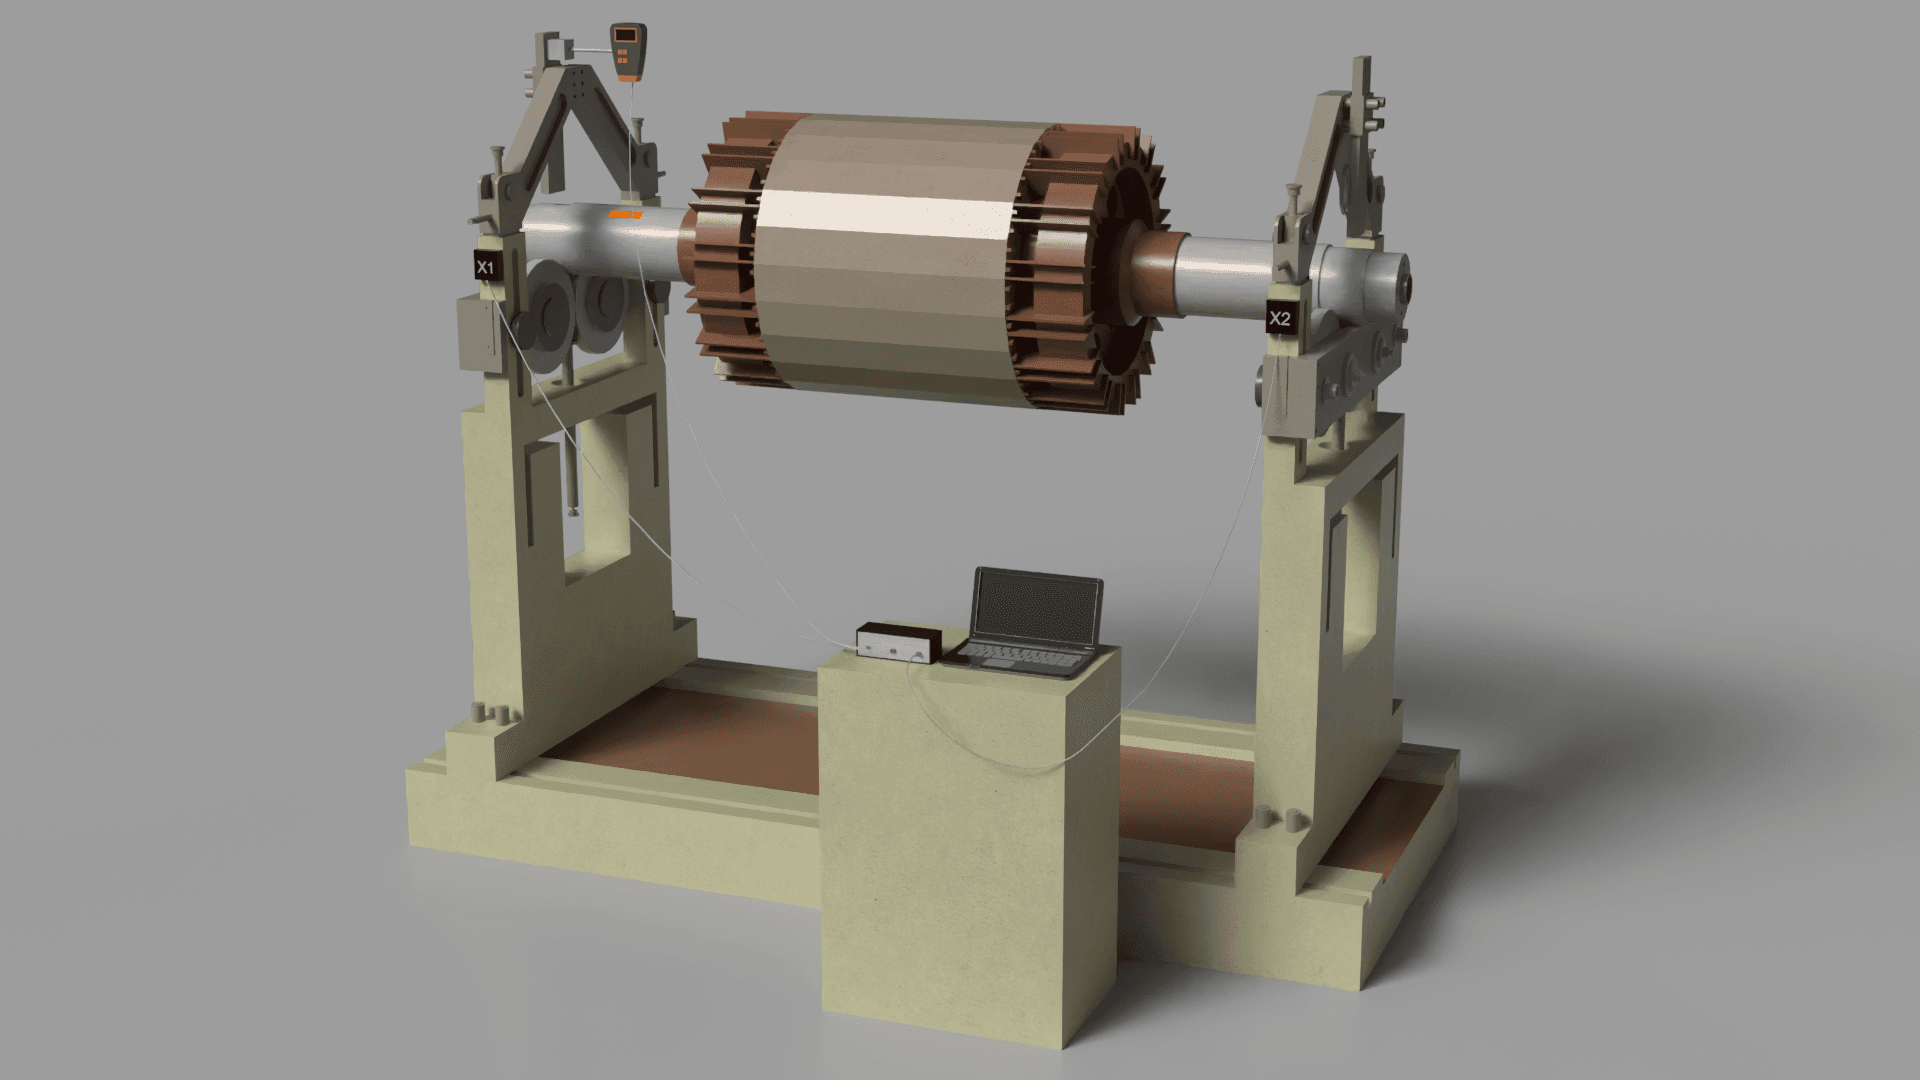
- Run the rotor up to its operating speed.
- The program will record the vibration amplitude, rpm, and phase, providing a baseline measurement of the existing imbalance.
Attaching the Trial Weight
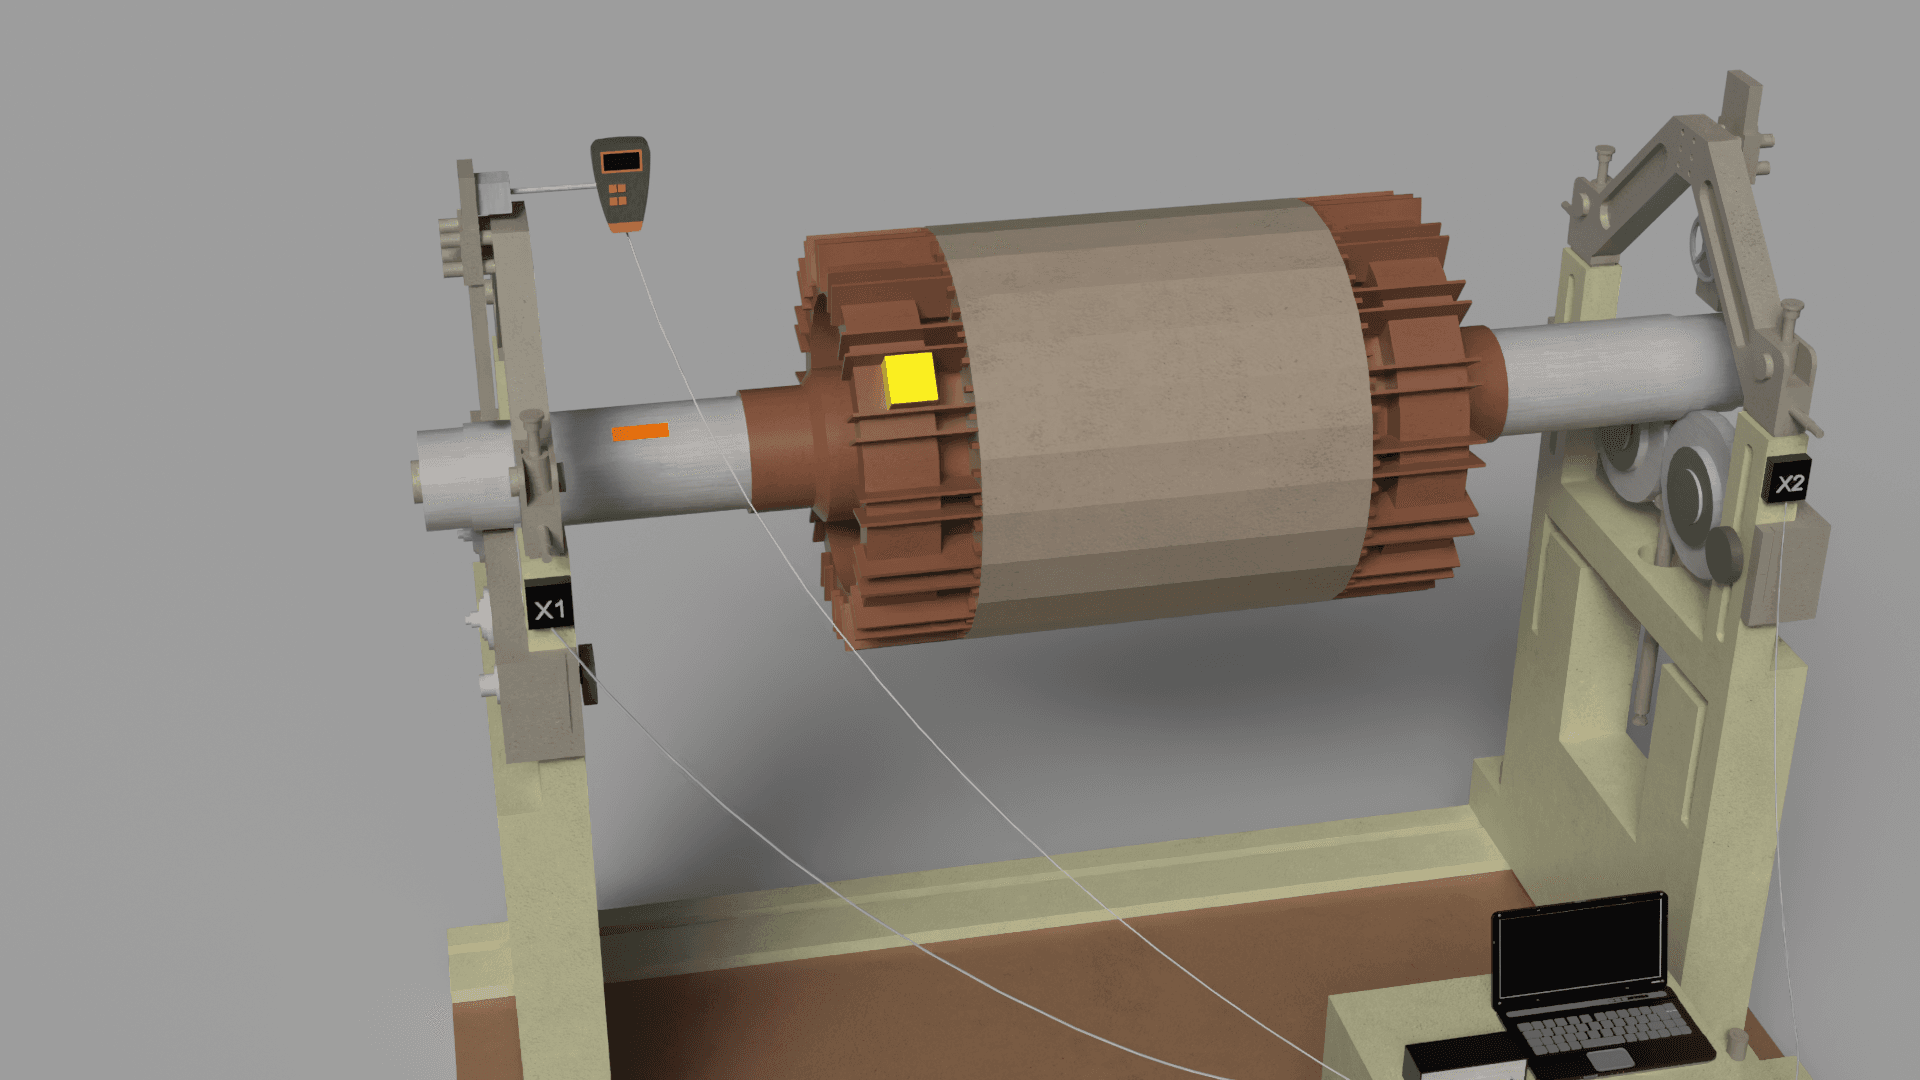
- Bring the rotor to a standstill and affix a trial weight at a predetermined point on the rotor, specifying its mass in the software (typically in grams).
- Resume rotor operation, and the program will capture the resulting changes in vibration amplitude and phase.
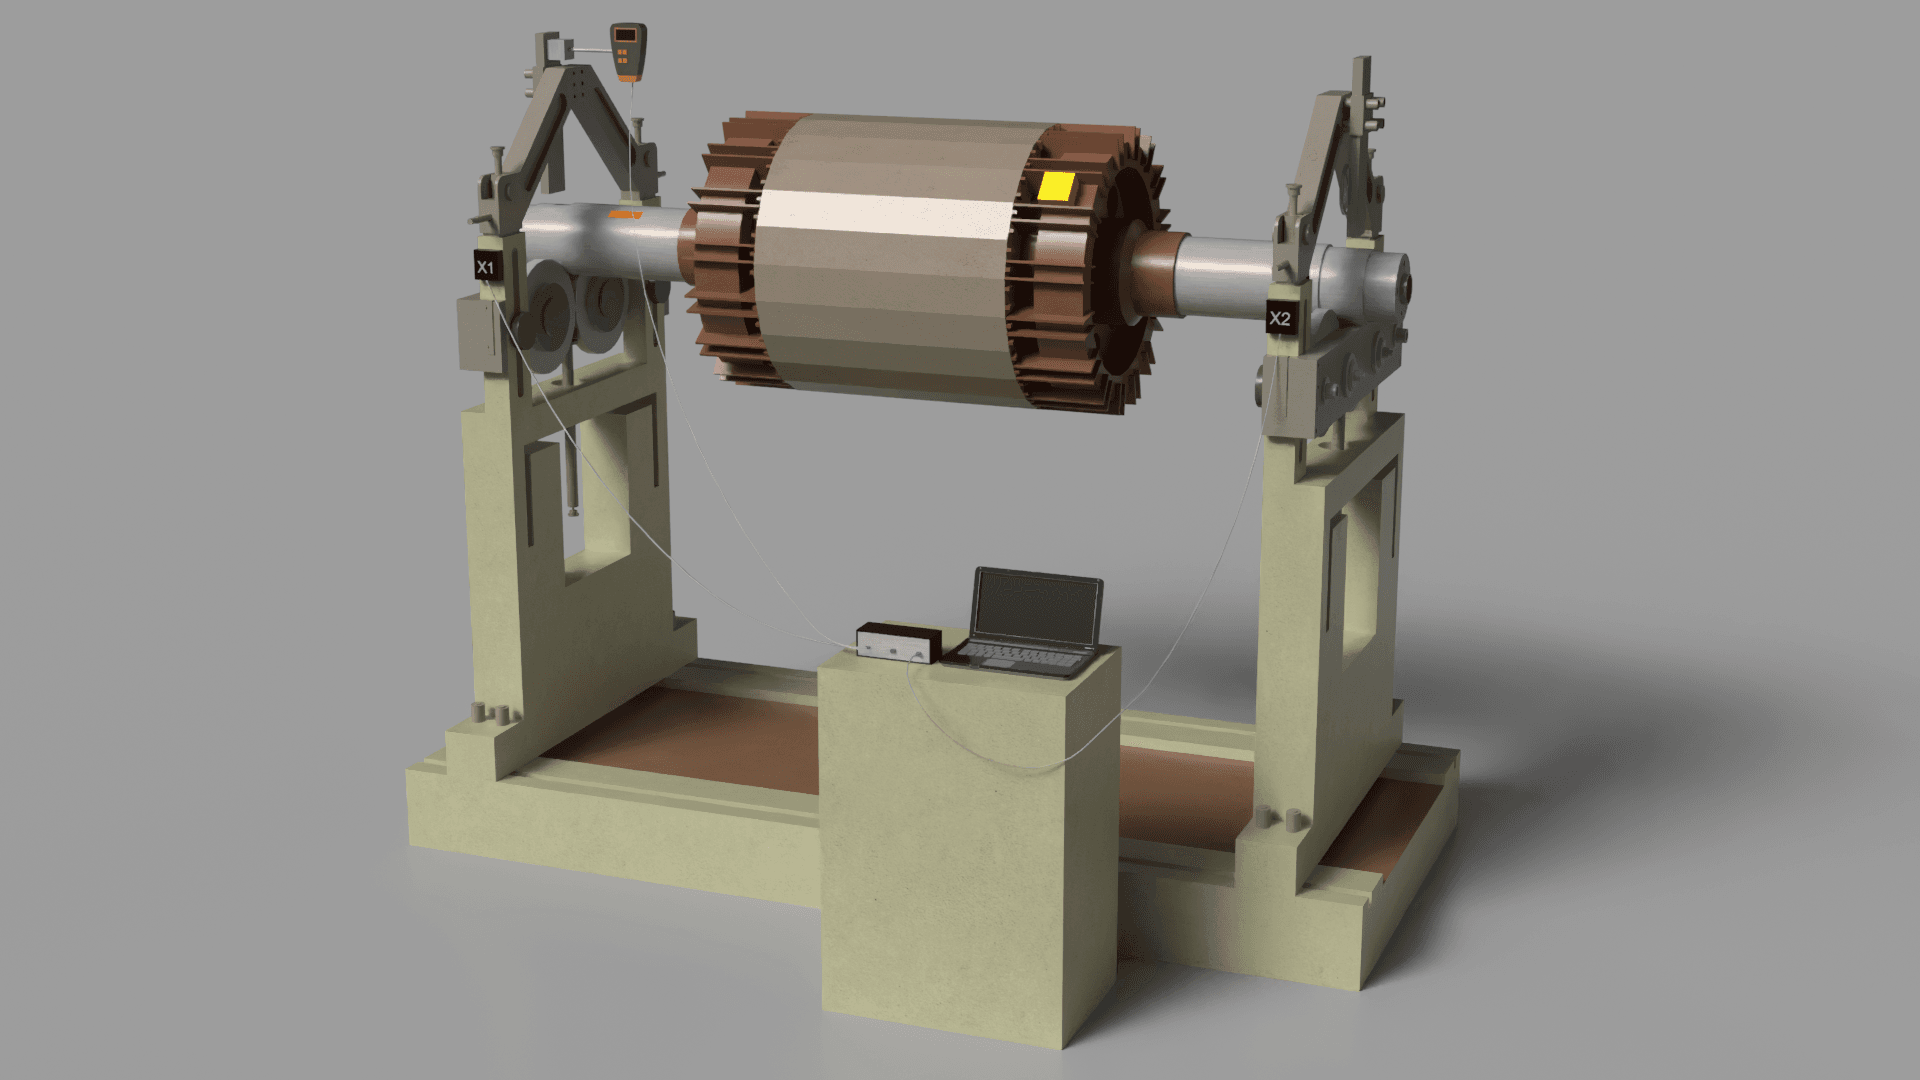
Computing the Compensating Weight
- Using the acquired measurements, the program automatically determines the required corrective weight's mass and angular position.
- The calculated values are presented on-screen in both numerical and graphical formats.
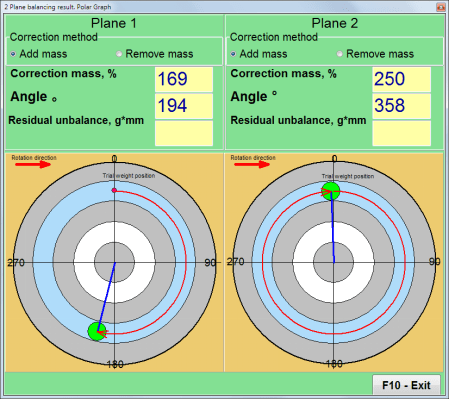
Installing the Correction Weight
- Mount the calculated corrective weight onto the rotor at the specified location and angle.
- If necessary, perform intermediate checks to verify that the imbalance is being reduced.
Final Check and Balance Confirmation
- After installing the correction weight, run the rotor again and check the residual vibration level.
- The balancing procedure is finished if the remaining vibration is within the permissible limits specified in ISO 1940.
- If the vibration is still outside acceptable limits, reiterate the process and fine-tune the compensating weight.
Generating a Documentation of the Balancing Results
- All balancing results are logged and archived within the software, from which you can produce a printable report summarizing the vibration levels, compensating weight, and its installation position.
Final Recommendations
- Ensure all applied weights and attached sensors are firmly fixed in their designated positions.
- Confirm that the rotor spins freely and quietly, without any unusual sounds or vibrations.
- If the rotor operates within a larger assembly, check the functionality and interplay of all interconnected parts.
Instagram: https://www.instagram.com/vibromera_ou/
Youtube : https://youtu.be/guA6XJ-ArZM?si=vmkuX7RILzKBl0zL
Our website about Balancing of mower rotors |
|
|